You spotted mold. Or maybe you didn’t spot it, but you’re dealing with a musty smell that won’t quit, or respiratory symptoms that mysteriously improve when you leave the house. Either way, you’re facing the reality that mold doesn’t just go away on its own. Professional mold remediation sounds expensive, invasive, and maybe a little intimidating. But knowing what happens during the process makes it less overwhelming. From the moment a technician walks through your door to the final clearance test, here’s what you can realistically expect when addressing mold in your Bucks County home.
How Professional Mold Inspection Identifies the Full Scope of Your Problem
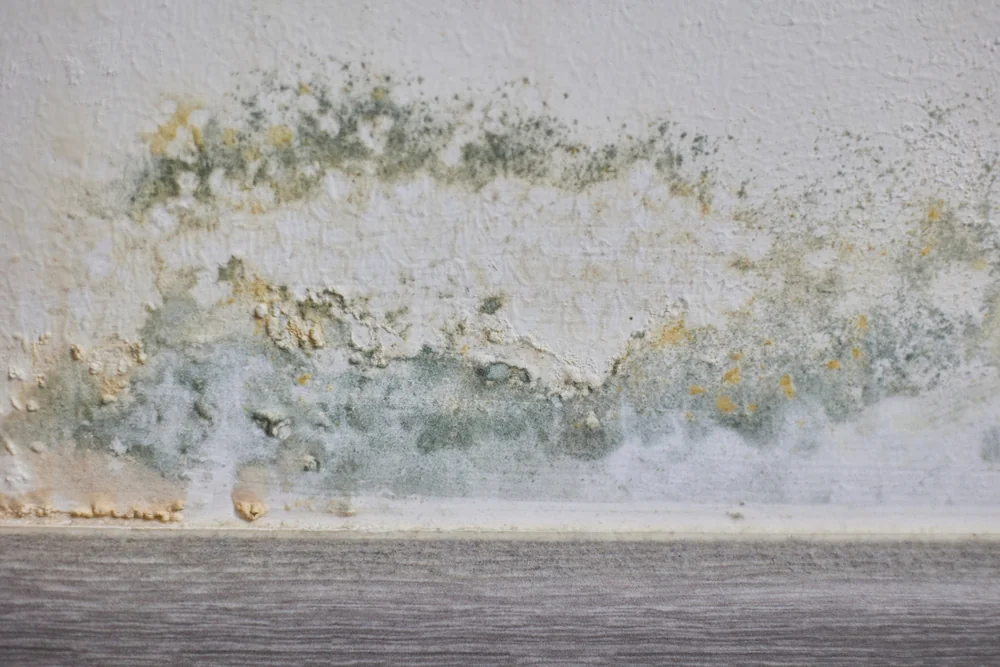
Before anyone removes a single spore, you need to know exactly what you’re dealing with. Professional mold inspection starts with a thorough visual examination of your property, but it doesn’t stop there. Trained technicians check the obvious spots like bathrooms and basements, then move to the places most homeowners never think to look.
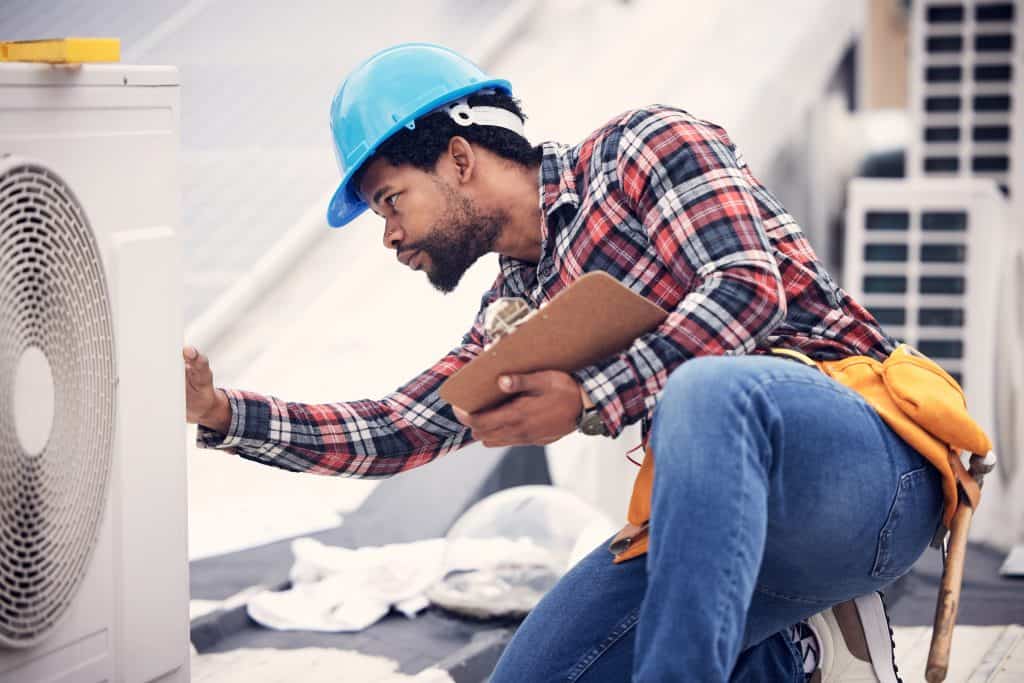
They’re searching for moisture sources, water stains, condensation patterns, and any signs of hidden growth. In Bucks County’s humid climate, mold loves to hide behind walls, under flooring, and inside HVAC systems where it can spread spores throughout your entire home without you seeing a thing.
This is where technology makes the difference. Thermal imaging cameras detect temperature variations that indicate moisture buildup behind surfaces you can’t see. Moisture meters measure humidity levels inside wall cavities and other concealed spaces. Air sampling captures spores that have become airborne from hidden colonies, even when there’s no visible growth yet.
What Mold Testing Tells You About Your Indoor Air Quality
Mold testing serves a specific purpose in the remediation process, though it’s not always the first step. When visible mold is already present, testing may not be necessary since you already know you have a problem that needs fixing. But when you’re dealing with unexplained health symptoms, persistent musty odors, or want to verify that hidden mold exists, testing provides concrete answers.
Air quality testing involves using specialized tools to collect samples of the air in your home. A technician uses a calibrated pump to pull air through a collection cassette, typically gathering 75 liters of air over about 5 minutes. That sample gets sent to a certified laboratory where a microbiologist examines it under a microscope.
The lab report tells you which types of mold spores are present, their concentrations measured in spores per cubic meter, and whether those levels are elevated compared to outdoor baseline samples. There’s no federal standard for “acceptable” mold levels, but comparing indoor to outdoor counts and identifying specific species helps determine whether you have a problem worth addressing.
Some molds raise more concern than others. Finding small amounts of Stachybotrys chartarum (commonly called black mold) or other toxigenic species warrants immediate attention. High concentrations of any mold type indicate active growth somewhere in your home, even if you haven’t found the source yet.
Surface sampling offers another testing option when you’ve found suspicious growth but want to confirm it’s actually mold before proceeding with remediation. A technician collects samples using swabs, tape lifts, or bulk samples of affected materials. Lab analysis identifies the exact species present and confirms whether what you’re seeing is mold or just dirt, soot, or other discoloration.
Testing becomes particularly valuable in Bucks County homes where the humid climate creates conditions for multiple types of mold to thrive simultaneously. Knowing which species you’re dealing with helps professionals develop the most effective removal strategy and determine whether special precautions are necessary during remediation.
The inspection and testing phase typically takes a few hours for an average-sized home. You’ll receive a detailed report explaining what was found, where problems exist, and what needs to happen next. This documentation proves crucial if you’re dealing with insurance claims, real estate transactions, or just want a clear record of your home’s condition before and after remediation.
Why Moisture Detection Matters More Than Finding the Mold Itself
Here’s something most homeowners don’t realize until they’re dealing with their second or third bout of mold: finding the mold is only half the battle. Finding the moisture source that’s feeding it is what solves the problem permanently.
Mold needs three things to grow: moisture, organic material to feed on, and the right temperature range. Your home provides plenty of organic material in the form of drywall, wood, carpet, and other building materials. Bucks County’s climate provides temperatures between 40 and 100 degrees Fahrenheit most of the year. The only variable you can actually control is moisture.
Professional inspectors spend significant time tracking down moisture sources because removing mold without fixing the water problem just means you’ll be calling them back in a few months. They check for obvious culprits like leaky pipes, roof leaks, and foundation cracks. But they also look for less obvious issues like condensation from poor ventilation, humidity from inadequate dehumidification, and moisture wicking up through concrete slabs.
Moisture meters provide precise readings of water content in building materials. Normal wood moisture content ranges from 6-12%. Readings above 16% create conditions where mold can develop. Drywall should measure below 1% moisture content. When readings spike above normal levels, inspectors know they’ve found an active moisture problem that needs addressing.
Thermal imaging reveals moisture patterns invisible to the naked eye. Cold spots on walls often indicate water infiltration or inadequate insulation causing condensation. Temperature differentials show where moisture is accumulating behind surfaces, guiding inspectors to hidden problems before they cause extensive damage.
In Bucks County’s humid environment, moisture problems come from multiple directions. Summer humidity can push indoor levels above 60%, creating perfect conditions for mold growth even without any water leaks. Basements in older homes deal with groundwater seepage through foundation walls. Poor grading around the home’s exterior directs rainwater toward the foundation instead of away from it. Inadequate ventilation in bathrooms and kitchens traps moisture inside the home.
Identifying all moisture sources during the initial inspection shapes the entire remediation plan. You might need improved ventilation, better drainage, dehumidification, waterproofing, or repairs to plumbing and roofing. Addressing these underlying issues costs more upfront than just cleaning visible mold, but it’s the difference between solving your problem once versus dealing with recurring mold growth for years.
The inspection report should clearly identify every moisture source found and provide specific recommendations for correcting each issue. Some fixes are simple, like improving bathroom ventilation or adjusting your HVAC system. Others require more significant work, like foundation repairs or comprehensive basement waterproofing. Either way, you need to know what you’re dealing with before remediation begins.
The Mold Remediation Process From Containment Through Final Cleanup
Once inspection identifies the scope of your mold problem and the moisture sources feeding it, the actual remediation work begins. This phase follows established protocols designed to remove existing mold safely while preventing spores from spreading to unaffected areas of your home.
Professional remediation isn’t just about scrubbing mold off surfaces. It’s a systematic process involving containment, air filtration, physical removal, cleaning, and verification. Each step serves a specific purpose in eliminating mold and protecting your home from cross-contamination during the work.
The process typically takes anywhere from one day for small, localized problems to a week or more for extensive growth affecting multiple areas. Understanding what happens during each phase helps you prepare for the disruption and know what questions to ask your remediation company.
How Containment and Air Filtration Prevent Mold From Spreading During Removal
Before technicians start removing mold, they need to make sure the work doesn’t make your problem worse by spreading spores throughout your home. Containment creates a controlled work zone that isolates the affected area from the rest of your living space.
Physical barriers are the first line of defense. Technicians seal off the work area using heavy plastic sheeting and tape, creating an airtight barrier between contaminated and clean spaces. They cover doorways, vents, and any other openings that could allow spores to escape. In some cases, they’ll create multiple containment zones with airlocks between them, especially when dealing with extensive contamination or toxic mold species.
Negative air pressure is what really makes containment work. Specialized machines called negative air machines or air scrubbers get set up inside the contained area. These units pull air from the work zone, filter it through HEPA filters that capture 99.97% of particles as small as 0.3 microns, and exhaust the clean air outside or into another area.
This creates lower air pressure inside the work zone compared to surrounding areas. Air naturally flows from high pressure to low pressure, so any air movement happens into the contained area rather than out of it. Even if the physical barriers aren’t perfectly sealed, the negative pressure prevents contaminated air from escaping into your living spaces.
HEPA filtration is critical throughout the remediation process. Mold spores are microscopic, typically ranging from 1 to 30 microns in size. Regular filters can’t capture particles that small. HEPA filters are specifically designed to trap these tiny spores, preventing them from becoming airborne and settling in previously clean areas of your home.
Technicians also use HEPA vacuums to clean surfaces, equipment, and materials before they leave the containment area. Everything that comes out of the work zone gets thoroughly vacuumed to remove any spores that might be clinging to it. This includes tools, protective equipment, and any materials that are being saved rather than discarded.
The containment and filtration setup typically takes a few hours to establish before any actual mold removal begins. It might seem like overkill, but this prep work is what prevents a localized mold problem from becoming a whole-house contamination issue. In Bucks County’s humid climate where mold spores thrive, proper containment is essential for successful remediation.
You’ll probably hear the air scrubbers running throughout the work. They’re loud, similar to a shop vacuum running continuously. This noise is actually a good sign that the equipment is working to protect your home. The machines typically run for the entire duration of the project and for several hours after the physical work is complete to make sure all airborne spores are captured.
What Happens During Mold Removal and Material Disposal
With containment established and air filtration running, technicians begin the physical work of removing mold from your home. The specific techniques vary depending on what materials are affected and how extensively mold has penetrated them.
Non-porous materials like glass, metal, hard plastics, and sealed concrete can usually be cleaned and saved. Technicians use antimicrobial and antifungal cleaning agents specifically formulated to kill mold and prevent regrowth. They scrub these surfaces thoroughly, removing all visible growth and treating the area to eliminate spores that aren’t visible to the naked eye.
Porous materials present a bigger challenge. Drywall, insulation, carpet, ceiling tiles, and fabric-covered furniture absorb moisture and provide ideal conditions for mold to penetrate deep into the material. When these items show heavy contamination, cleaning isn’t enough. The mold has grown into the material itself, and the only reliable solution is removal and disposal.
This is where remediation gets invasive. Technicians may need to remove sections of drywall, tear out carpet and padding, pull down ceiling tiles, or remove insulation from walls and attics. It’s not fun to watch parts of your home getting demolished, but it’s necessary to eliminate mold that’s embedded in porous materials where cleaning can’t reach.
Wood presents a judgment call. Solid wood framing, studs, and joists can often be cleaned and treated if the mold is only on the surface. But if mold has penetrated deep into the wood or if the wood has become soft and damaged from prolonged moisture exposure, it may need replacement. Experienced technicians assess each situation individually rather than following a one-size-fits-all approach.
Everything that gets removed goes into heavy-duty plastic bags that get sealed before being carried out of the containment area. Technicians wipe down the outside of each bag with HEPA vacuums and antimicrobial solutions to remove any spores that might be clinging to the exterior. This prevents contamination of clean areas during disposal.
Disposal requirements vary by location, but most mold-contaminated materials can go to regular landfills. The key is making sure they’re properly sealed during transport. Some jurisdictions have specific regulations about disposing of large quantities of contaminated materials, so professional companies know the local requirements and handle disposal in compliance with regulations.
After removing contaminated materials, technicians clean all remaining surfaces in the affected area. They use HEPA vacuums to capture loose spores and debris, then apply antimicrobial treatments to all surfaces. This includes structural elements like studs and joists, concrete floors and walls, and any materials that are staying in place.
Wire brushing and sanding may be necessary for rough surfaces where mold has penetrated slightly into the material. These techniques physically remove the outer layer of the material along with any embedded mold. All dust and debris generated during this process gets immediately captured by HEPA vacuums to prevent it from becoming airborne.
The cleaning phase often takes longer than the actual removal work. Technicians go over every surface multiple times, using different cleaning agents and techniques to verify complete mold elimination. They pay special attention to corners, crevices, and other areas where spores tend to accumulate and hide.
Once all visible mold is removed and surfaces are thoroughly cleaned, technicians apply encapsulants to some surfaces. These are specialized coatings that seal the surface and create a barrier preventing any remaining spores from becoming active. Encapsulation isn’t appropriate for all situations, but it provides an extra layer of protection in areas that are particularly prone to moisture or difficult to access for future maintenance.
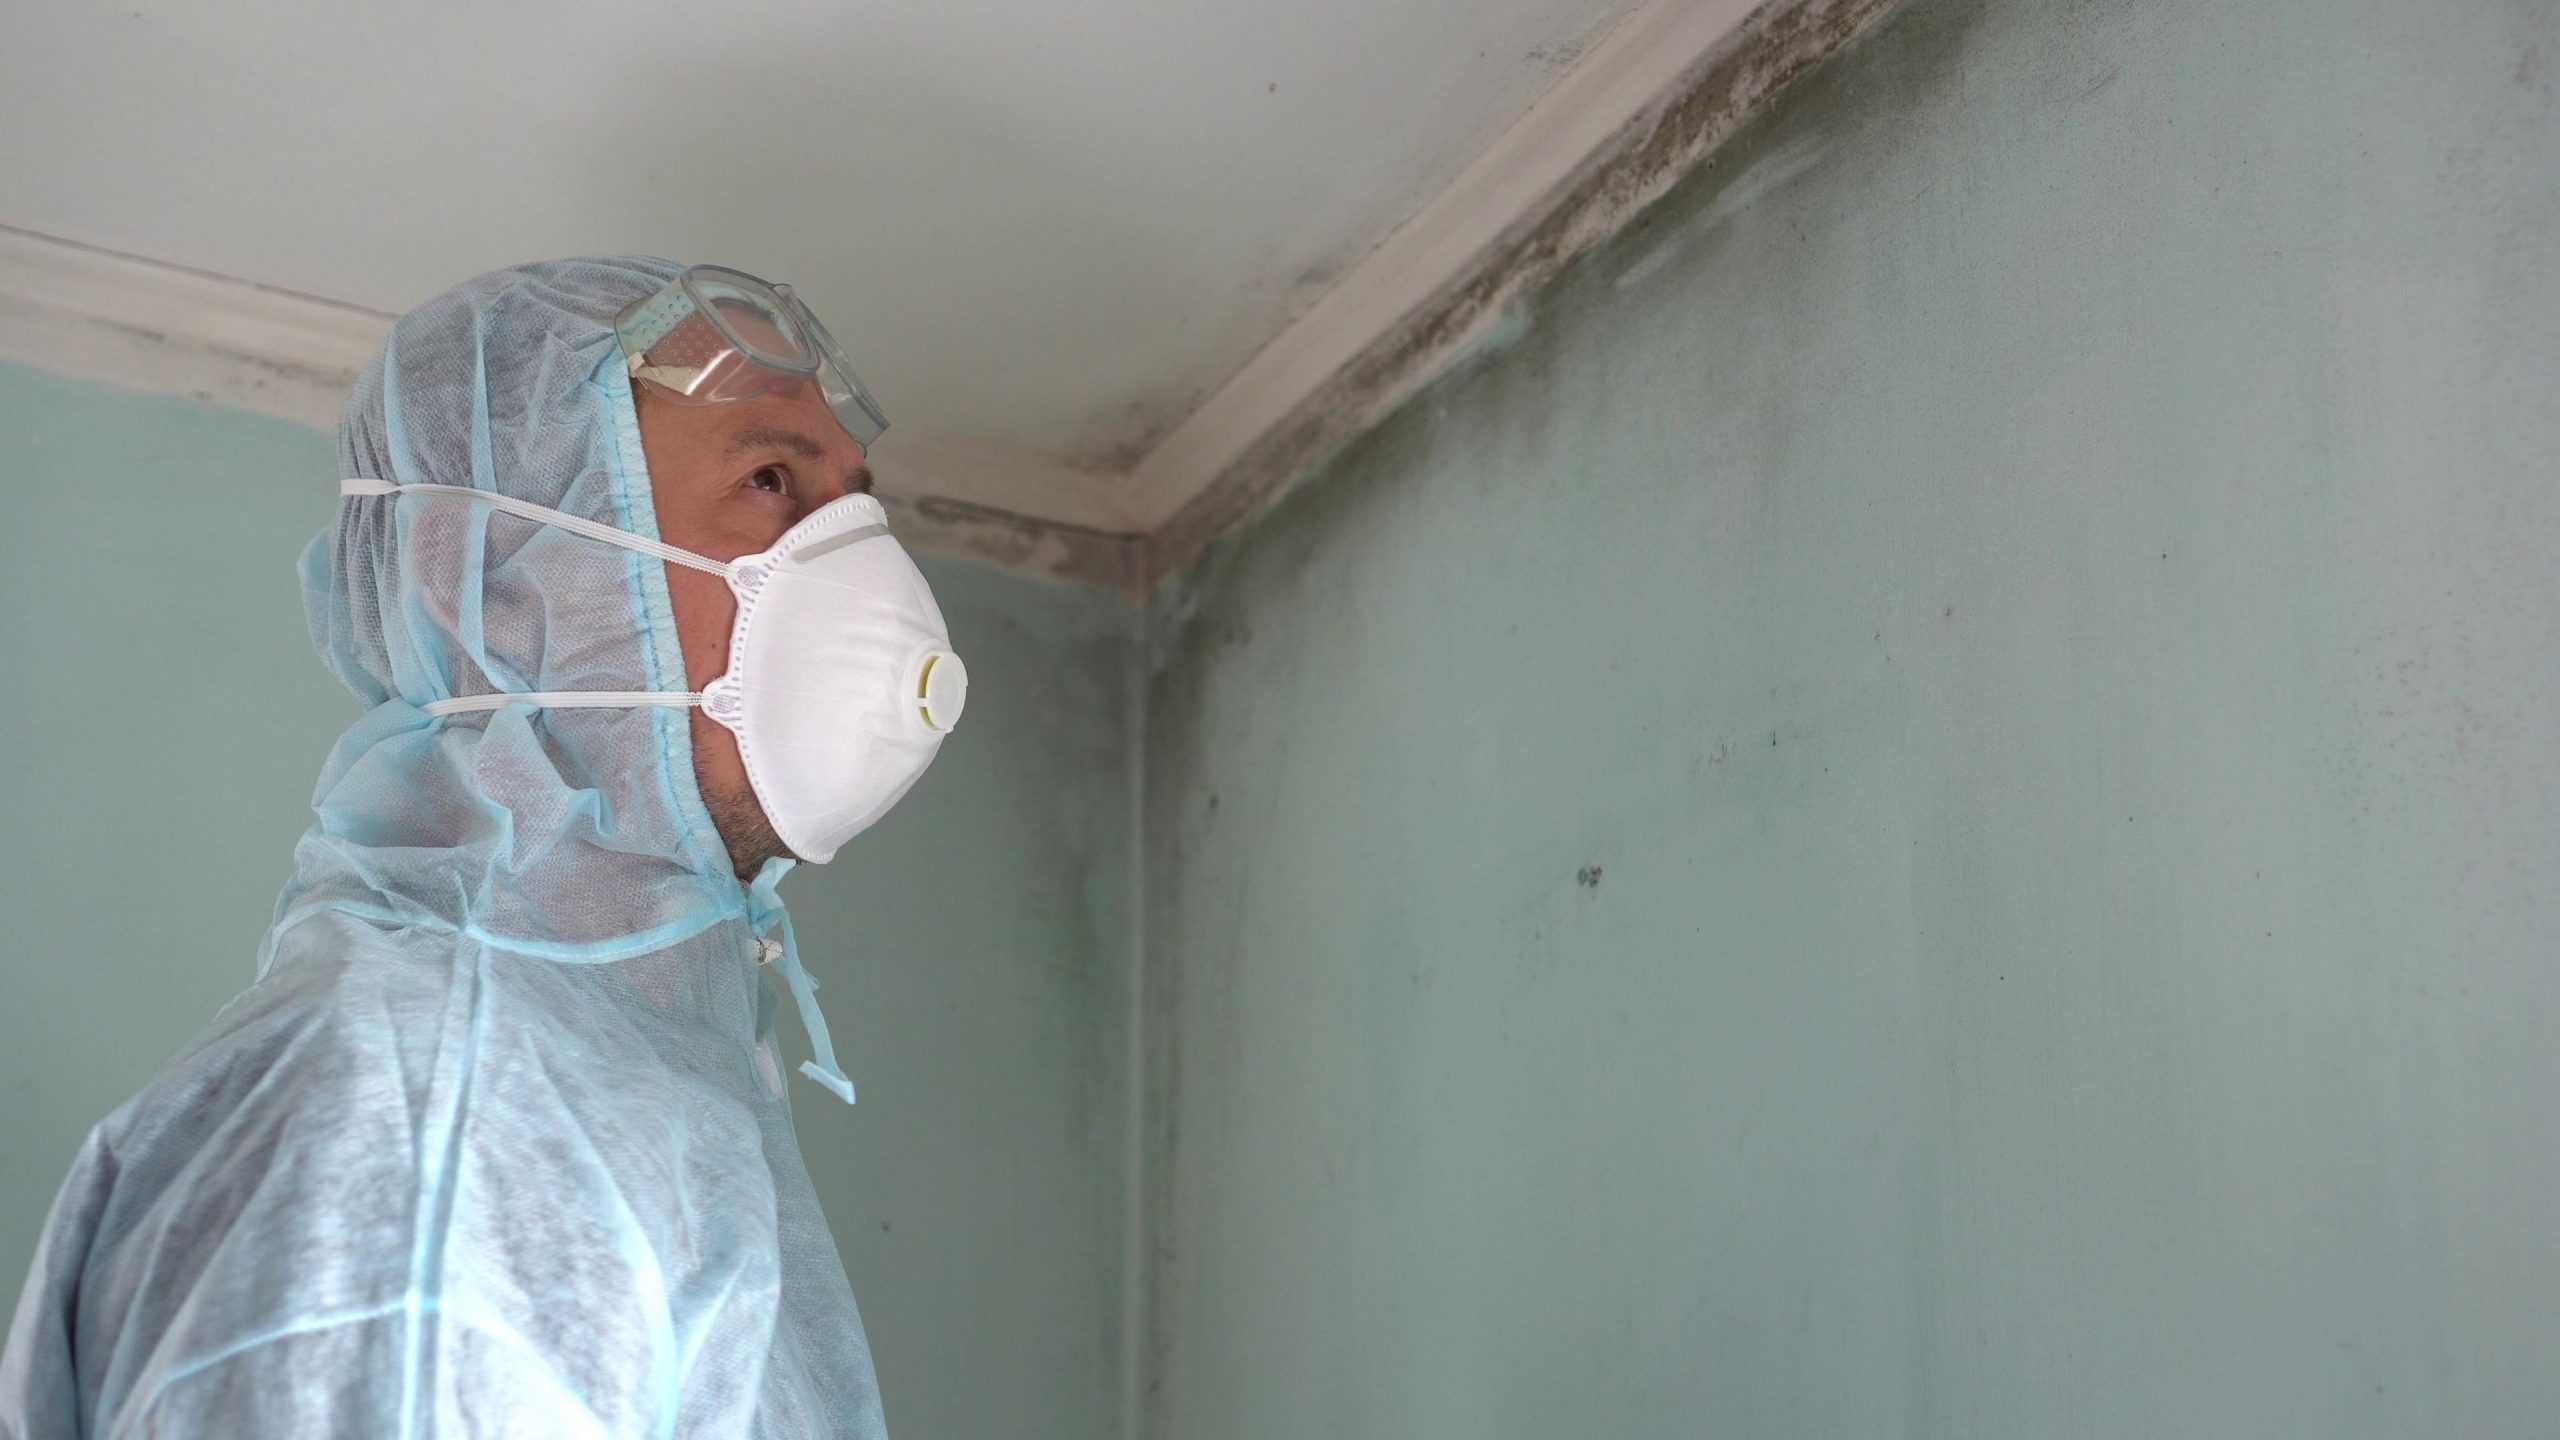
Throughout this entire process, technicians wear personal protective equipment including respirators, gloves, and protective suits. This protects them from mold exposure and also prevents them from carrying spores on their clothing and skin to other areas of your home. Professional remediation companies take worker safety seriously because they understand the health risks associated with mold exposure.
What Happens After Mold Removal Is Complete
Removing the mold is only part of the job. The final steps involve verification that the remediation was successful, addressing the moisture problems that caused the mold in the first place, and restoring your home to its pre-damage condition.
Post-remediation testing confirms that mold levels have returned to normal. Air samples taken after cleanup should show spore counts similar to outdoor levels, with no elevated concentrations of the species that were causing problems. This testing provides documentation that the work was successful and your home is safe to occupy again.
The moisture issues that allowed mold to grow need fixing before you close up walls and restore finishes. This might involve plumbing repairs, improved ventilation, dehumidification, or waterproofing work. These fixes are essential for preventing mold from returning in the same location.
Once everything is clean, dry, and verified safe, restoration work begins. This includes replacing drywall, installing new insulation, laying carpet, repainting, and any other repairs needed to return your home to normal. Some remediation companies handle restoration work themselves, while others focus only on the mold removal and leave restoration to contractors.
The entire process from initial inspection through final restoration typically takes anywhere from a few days to several weeks depending on the extent of the problem. It’s disruptive, it’s not cheap, and it’s not something anyone wants to deal with. But professional mold remediation done properly solves the problem permanently rather than just covering it up temporarily.
If you’re dealing with mold in your home, understanding this process helps you work effectively with remediation professionals and make informed decisions about your property. We follow these industry-standard procedures using EPA-approved methods and advanced equipment to address mold problems throughout Bucks County, PA.