You’ve noticed the musty smell in your basement. Or maybe there’s a dark spot on the bathroom ceiling that keeps coming back. Perhaps you just want assurance after that pipe leak last winter. Whatever brought you here, you’re asking the right question: what actually happens during a professional mold inspection?
It’s not as mysterious as you might think. A mold inspection is a systematic process designed to answer one key question—do you have a mold problem, and if so, where is it and what’s causing it? This guide walks you through every step, from the moment we pull into your driveway to the day you receive your lab results. You’ll know what to expect, what questions to ask, and how to prepare. Let’s start with why the inspection begins the way it does.
What Happens When the Mold Inspector First Arrives at Your Home
The inspection doesn’t start with equipment or testing. It starts with a conversation.
When we arrive, the first thing we’ll do is sit down with you and ask questions. We want to know what you’ve noticed—musty odors, visible spots, health symptoms, or areas that feel damp. We’ll ask about your home’s history: Have you had water damage? Flooding? Leaks from the roof or plumbing? Has the basement ever flooded after heavy rain?
This isn’t small talk. Every detail you share helps us understand where to focus our attention. Mold doesn’t just appear randomly. It grows where moisture has been, and your observations are often the best clues about where that moisture problem started.
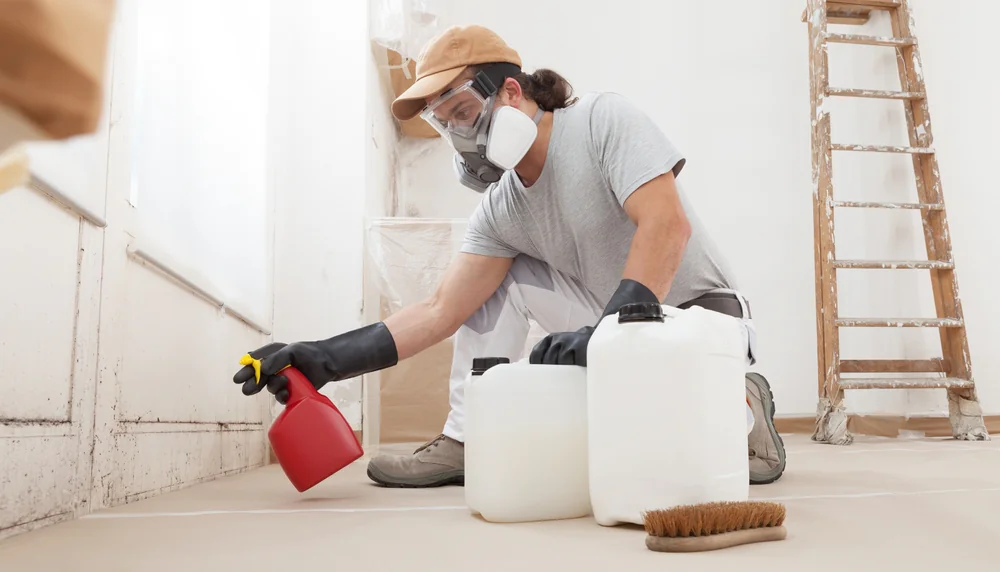
The Visual Inspection: Where We Look and Why
Once the conversation wraps up, we begin the visual walkthrough. This is where we examine your home with a trained eye, looking for visible mold growth, water stains, discoloration, and conditions that support mold.
We’ll check the usual suspects first. Basements in Bucks County are prime real estate for mold, especially in older homes where humidity and poor ventilation create the perfect environment. Bathrooms, kitchens, attics, crawl spaces, and areas around windows are all on the list. But we don’t stop at the obvious spots.
We look behind and underneath things. We’ll check around HVAC systems, inside closets, under sinks, near water heaters, and along exterior walls. If you’ve had a roof leak or plumbing issue in the past, we’ll pay extra attention to those areas. Mold loves to hide in wall cavities, behind drywall, and in spaces you’d never think to check on your own.
During this phase, we’re also looking for moisture sources. Peeling paint, warped floors, condensation on windows, and water stains on ceilings are all red flags. Mold doesn’t grow without moisture, so finding the water source is just as important as finding the mold itself.
You might see us taking notes, snapping photos, or marking areas of concern. This documentation becomes part of your inspection report and helps create a clear picture of what’s happening in your home. It’s also useful if you need to file an insurance claim or if you’re in the middle of a real estate transaction.
The visual inspection usually takes one to two hours, depending on the size of your home and the number of areas being examined. If your home is larger or we suspect mold in multiple locations, it could take longer. But this step is critical—it sets the foundation for everything that comes next.
Moisture Detection: How We Use Technology to Find Hidden Problems
Here’s where things get more technical. Mold thrives in damp environments, and sometimes that dampness isn’t obvious to the naked eye. That’s why we use specialized tools to detect moisture levels inside your walls, floors, and ceilings.
Moisture meters are one of the most common tools. These handheld devices measure the moisture content in building materials like drywall, wood, and insulation. We’ll press the meter against various surfaces throughout your home, paying close attention to areas where water damage has occurred or where conditions seem right for mold growth.
If the readings are high, it’s a sign that moisture is present—even if you can’t see it. High moisture levels behind a wall, for example, could mean there’s a slow leak or condensation problem that’s been feeding mold growth for weeks or months.
Thermal imaging cameras are another game-changer. These infrared devices detect temperature differences in your walls and ceilings. Cooler spots often indicate moisture or areas that are drying slowly, which can point to hidden water intrusion or active mold growth. Thermal imaging is especially useful for finding problems in hard-to-reach areas like behind finished basements, inside wall cavities, or above ceilings.
In Bucks County, where older homes and fluctuating humidity levels are common, this technology is essential. It allows us to see what’s happening inside your home’s structure without tearing apart walls or floors. You get a full picture of the moisture situation, which helps determine whether mold is present and what’s causing it.
This phase of the inspection doesn’t take long—usually 30 minutes to an hour—but it provides critical data. The moisture readings and thermal images become part of your report, giving you a clear understanding of where water is entering your home and what needs to be addressed to prevent future mold problems.
If we find elevated moisture levels or temperature anomalies, we’ll likely recommend testing to confirm whether mold is present. That’s where air sampling and surface sampling come into play, which we’ll cover next.
How Mold Testing Works: Air Sampling, Surface Sampling, and Lab Analysis
Not every mold inspection includes testing, but when it does, it’s because we need more information. Testing answers questions that a visual inspection and moisture detection can’t: Is mold actually present? What type of mold is it? How concentrated are the spore levels in your indoor air?
There are two main types of mold testing: air sampling and surface sampling. Each serves a different purpose, and we’ll choose the method—or combination of methods—that makes the most sense for your situation. Let’s break down how each one works.
Air Sampling: Testing for Mold Spores You Can’t See
Air sampling is used to measure the concentration of mold spores floating in your indoor air. Even if you don’t see visible mold, spores can still be present and circulating through your home, especially if mold is growing in hidden areas like inside walls, above ceilings, or in your HVAC system.
We use a calibrated air pump to collect air samples from different rooms in your home. The pump forces air through a collection device—usually a small cassette or spore trap—that captures mold spores onto a slide or filter. The process is quick and non-invasive, and you won’t even notice it’s happening.
In most cases, we’ll also take an outdoor air sample as a baseline for comparison. Mold spores are everywhere—indoors and outdoors—so the goal isn’t to find zero mold. The goal is to determine whether your indoor spore levels are higher than what’s normal for the outdoor environment. Elevated indoor levels suggest that mold is actively growing somewhere in your home.
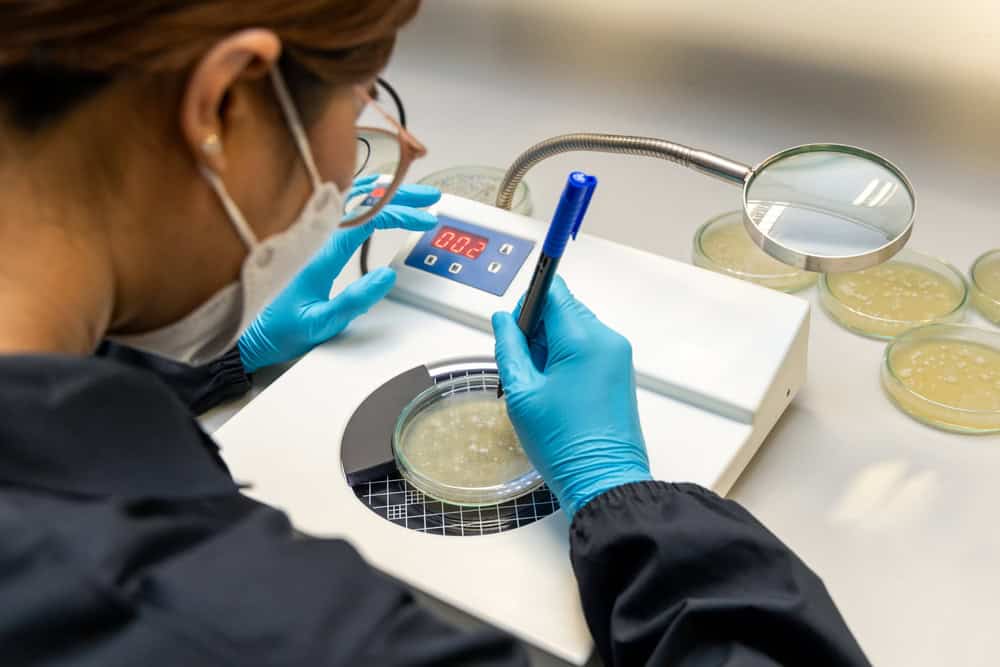
Once the samples are collected, they’re sent to an accredited laboratory for analysis. The lab examines the samples under a microscope, identifies the types of mold present, and measures the spore concentration. This information is compiled into a report that we’ll review with you.
Air sampling is particularly useful in situations where you’re experiencing health symptoms—like persistent coughing, sneezing, or respiratory issues—but you can’t pinpoint where the mold is coming from. It’s also helpful after mold remediation to confirm that spore levels have returned to normal and the problem has been fully resolved.
The entire air sampling process takes about 30 to 45 minutes, but lab results typically take three to five business days to come back. Some labs offer faster turnaround times for an additional fee, but most homeowners are comfortable waiting a few days for accurate, detailed results.
Surface Sampling and What Happens After Testing Is Complete
Surface sampling is used when there’s visible mold or suspicious discoloration that needs to be identified. We take a sample directly from the affected surface using a swab, tape lift, or bulk material collection. This sample is then sent to the lab to determine the exact type of mold and whether it poses a health risk.
Surface sampling is straightforward and fast. We’ll swab or tape the moldy area, place the sample in a sterile container, and label it for lab analysis. If the mold is growing on a porous material like drywall or insulation, we may collect a small piece of the material itself for more accurate testing.
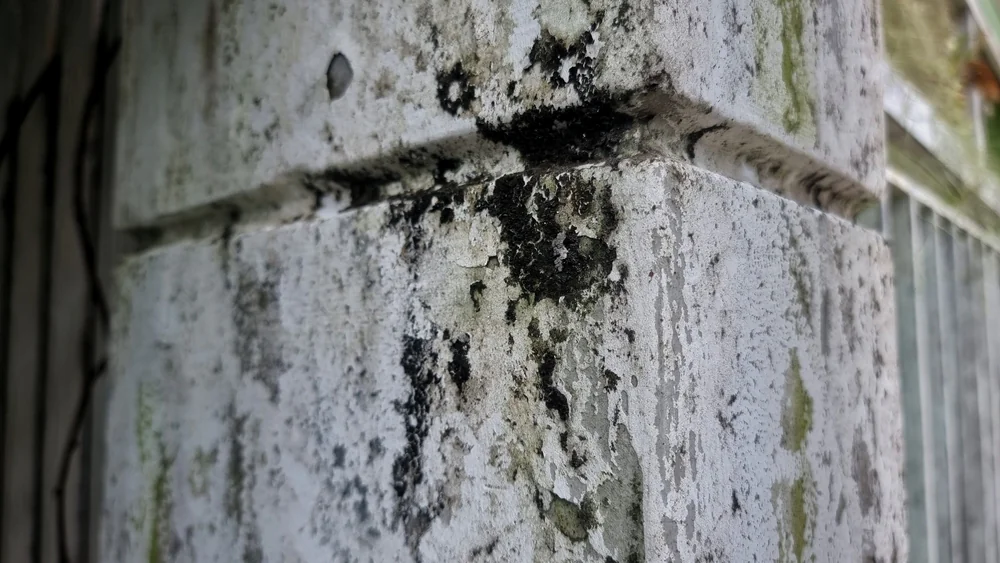
This type of testing is especially useful when you need to know whether you’re dealing with a common, less harmful mold or a more concerning species like Stachybotrys chartarum, often referred to as black mold. Knowing the specific type of mold helps guide the remediation process and informs decisions about how aggressively the problem needs to be addressed.
After all samples are collected—whether air, surface, or both—they’re sent to an independent, accredited laboratory. The lab analyzes the samples and provides a detailed report that includes the types of mold identified, spore counts, and an assessment of whether the levels are elevated compared to normal outdoor levels.
We’ll receive the lab results within three to five business days, sometimes sooner. Once the results are in, we’ll contact you to review the findings. We’ll explain what the results mean, answer your questions, and provide recommendations for next steps.
If mold is confirmed, we’ll outline a remediation plan. This might include removing contaminated materials, addressing the moisture source, improving ventilation, and conducting post-remediation testing to verify that the problem has been fully resolved. If mold isn’t found, we’ll explain what might be causing your symptoms or concerns and offer guidance on preventing future issues.
The key takeaway here is that mold testing isn’t a guessing game. It’s a scientific process that gives you clear, actionable information about what’s happening in your home. You’re not left wondering or worrying—you have data, and you have a plan.
What to Do After Your Mold Inspection Results Come In
Once you receive your mold inspection results, you’ll have a clear understanding of whether mold is present, what type it is, and what’s causing it. That’s when the real work begins—but you’re not doing it alone.
If mold is confirmed, your next step is remediation. We’ll develop a plan to safely remove the mold, repair any damage, and address the underlying moisture problem so it doesn’t come back. If no mold is found, you’ll have peace of mind and recommendations for keeping your home mold-free moving forward.
Either way, you’re making informed decisions based on facts, not fear. And that’s the whole point of a professional mold inspection. If you’re in Bucks County and you’re ready to get answers, Mack’s Mold Removal is here to help. From the first conversation to the final report, you’ll know exactly what’s happening and what comes next.